How I setup vim
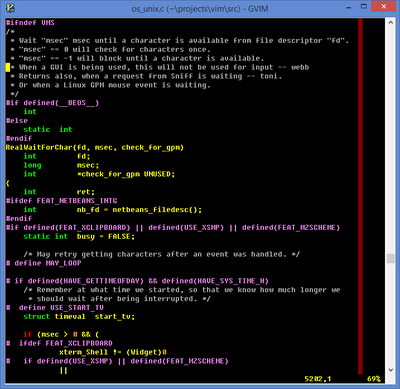
My favorite editor on devices where I have a real keyboard is called vim. I use it when writing just about any text document or source code file because it has commands where you can do most things with a few keystrokes. For example, if I want to properly indent my whole source file I just type ggVG=. You wouldn't think that would come up often, but when you work with many developers you use commands like that a lot. Anyway, I have created quite a few support files for my personal vim environment. Just recently, I put them into a mercurial repository and put that repository up on bitbucket. This post explains how to clone the repository and to set it up for your own use. The steps below assume that you have vim and mercurial installed and they are setup in the PATH. The optional steps below assume that you also have git and curl installed and they are setup in the PATH.
On Linux/Unix
- mkdir ~/.vim
- hg clone http://bitbucket.org/torrinj/vimfiles ~/.vim
- Open up ~/.vim/vimrc and copy every thing from ".vimrc START" to ".vimrc END" to ~/.vimrc. Uncomment lines as appropriate.
- [OPTIONAL] mkdir ~/.vim/bundle
- [OPTIONAL] git clone https://github.com/Shougo/neobundle.vim ~/.vim/bundle/neobundle.vim
- [OPTIONAL] Run vim or gvim
- [OPTIONAL] :NeoBundleUpdate
NOTE: I've only given the Linux/Unix instructions here but this also works on Windows. In places where the path is ~/.vim change that to %USERPROFILE%\vimfiles. In places where it says .vimrc change that to _vimrc.

Comments
Comments powered by Disqus